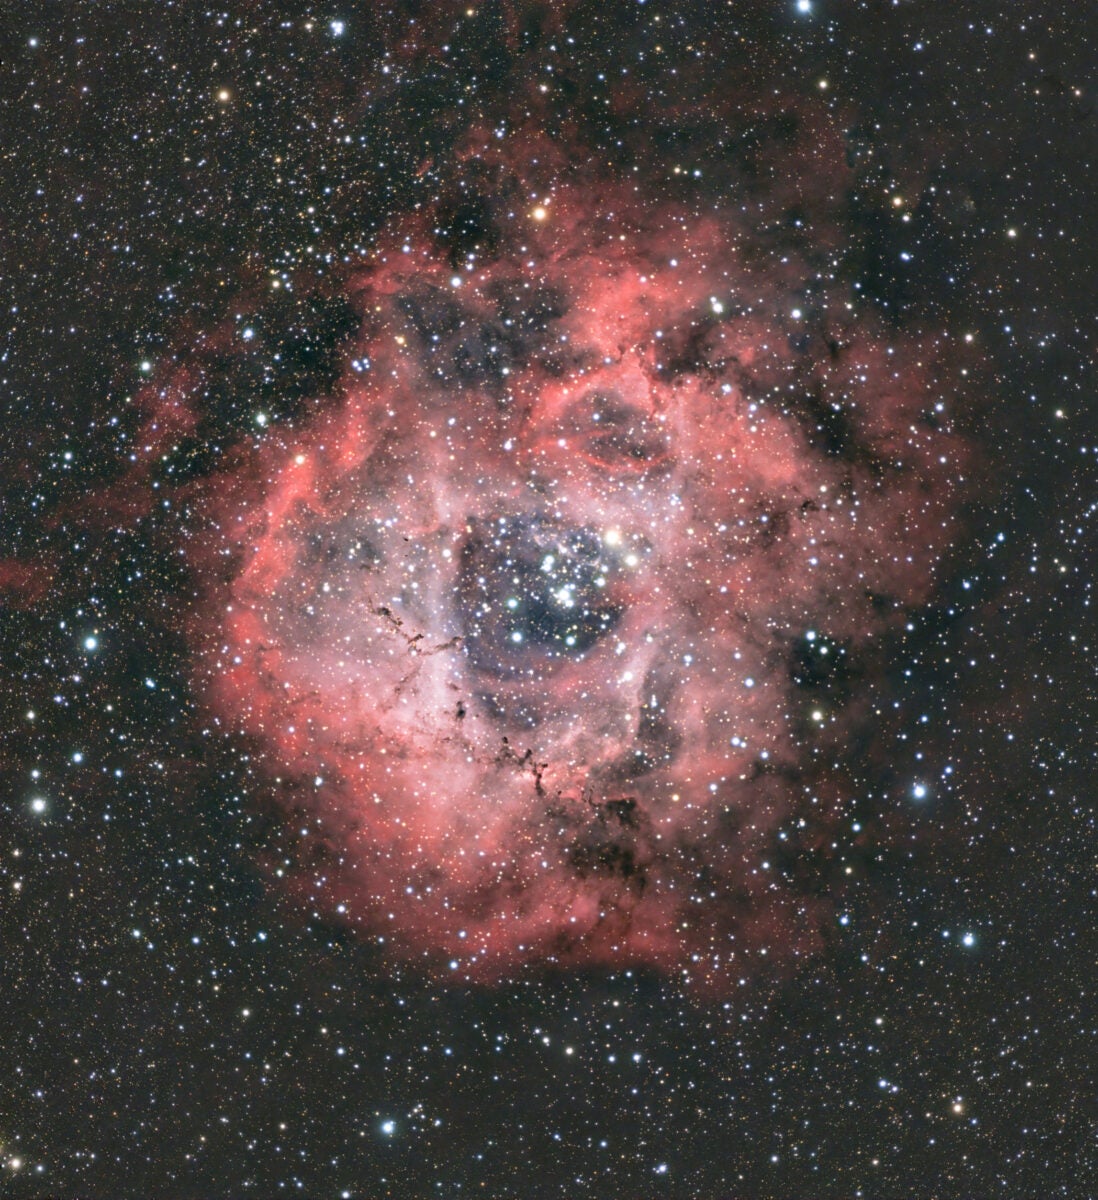
The author captured the Rosette Nebula under Bortle 2 skies with a ZWO ASI2600MC Pro camera on an Astro-Tech 72ED refractor atop an iOptron CEM40 mount. This image comprises 104 three-minute exposures. Credit: Molly Wakeling
Getting started in astrophotography can be daunting. With so many different telescopes, cameras, and mounts and all their variations, where do you start?
The first piece of equipment you should choose is a mount, the mechanical base that the telescope attaches to. For astrophotography, the mount must be motorized, and ideally computer-controllable. This might sound crazy, but the quality of the mount is more important than the quality of the telescope! Even the best quadruplet refractor won’t produce good images if the stars are streaked from poor tracking.
While it is possible to do astrophotography on an altitude-azimuth (alt-az) mount, they are limited; an equatorial mount will serve you much better. Equatorial mounts are aligned with the celestial pole so that only the right ascension axis is tracking the sky, while the declination axis is only used for small corrections. To get the best use out of a mount, it should be able to communicate with a computer, usually via USB, so that software can command it where to slew and send fine correction commands using a process called autoguiding.
Expect to spend at least $2,000 on a mount with reasonable payload capacity — I recommend at least 25 pounds (11.3 kilograms) for use with small refractors. Don’t forget about the weight of the other gear you may eventually use, such as the camera, focuser, filter wheel, and guide scope, as well as the dovetail and rings or clamps you use to attach the telescope.
These days, the listed payload capacity of many mounts is its true astrophotography capacity; for some manufacturers and for older mounts, a rule of thumb of using 50 percent of the capacity for astrophotography applies. Nearly all manufacturers’ listed capacities account for counterweights, so don’t worry about adding those into your weight calculation.
In my opinion, the iOptron CEM40 is an excellent place to start if you want to get serious about astrophotography. It is small and lightweight with a payload capacity of 40 pounds (18 kg), and has excellent long-exposure tracking when used with an autoguider.
Now, we come to the telescope itself. I highly recommend starting with a small refractor, with an aperture in the 60mm to 90mm range. Short focal lengths (400–700mm) and relatively fast focal ratios (f/5 or f/6) make them very forgiving of tracking errors. This means you can start imaging without the complication of autoguiding, while still gathering enough light to make a nice image. Refractors range vastly in quality and price; you can do reasonably well with some doublets but will get less chromatic aberration (blue halos around stars) with a triplet or apochromatic telescope. I’ve been impressed with the Astro-Tech AT72ED that I picked up last year from a friend (the newer AT72EDII retails for $519), and a lot of people I know love their William Optics refractors; their apochromatic Zenithstar line ranges from around $600 to $1,000.
Finally, the camera. For the beginning astrophotographer, a one-shot-color (OSC) camera is the way to go. You can also start simply with a DSLR, preferably a midgrade computer-controllable type, but you will get better results and have more functionality with a cooled astrophotography camera. While monochrome cameras deliver images with higher resolution and signal-to-noise ratios, the added complication and cost of four filters (luminance, red, green, and blue) and a filter wheel, as well as the additional image processing required, make them a difficult place to start.
A cooled OSC camera will deliver excellent images and can be used with both multi-narrowband and light pollution filters, which are especially helpful when imaging from the city. I love my ZWO ASI2600MC Pro ($1,499) and have also gotten nice images from my ZWO ASI294MC Pro ($999). Be sure to use a luminance or UV/IR-cut filter with an OSC camera on a refractor to avoid UV/IR halos.
In the end, start with anything you already have and know how to use. I took my first astroimages with an 8-inch f/10 Schmidt-Cassegrain on an alt-az mount with a DSLR, which is about the hardest possible place to start! But a high-quality equatorial tracking mount, a small refractor, and a OSC camera are an excellent way to get into astrophotography.

